It seems to be a universal myth that if you live in California, you must live on/very close to the beach. This is so not true (though we really wish it was). LG and I hail from a place called the Central Valley, which is entirely landlocked, unless you count oceans of fruit trees. This is very sad for us, since we loooooooooooove the beach. There’s really nothing better than laying in the sand, soaking up some rays and then popping into the water to cool down. And unfortunately for us, DC is also not very beach-adjacent. However, that does not stop us from getting in some good sun time, whether it’s by laying out on my rooftop pool or hauling our butts to Dewey Beach.
Of course, the most vexing thing about going to the beach is hauling all of your stuff there. And we require lots of stuff – a towel, a phone, keys, beverages, music, a good book and approximately a gallon of sunscreen with at least an SPF of 70. Ok, that last one is just me. I’m a ginger, it can’t be helped. Quite frankly, it’s a pain carrying all that stuff. So we were THRILLED when we found this project on Pinterest. We decided we must try it immediately. We set off for Michaels and JoAnns, our spirits high. Oh, if only we had actually known what we were diving into.
If you are interested in making your own beach companion, I highly recommend that you follow the instructions in the original link. Our own work was something of a comedy of errors that took us two months to complete. This post is much more a commentary on our ridiculousness than it is an actual attempt to show you how to make your own. We’re a strong warning, not a good example.
CHALLENGE 1: Cutting in a straight line
The project calls for you to cut off the edges of your towel in strips and save those strips as the handles. It turns out that kitchen shears are NOT the ideal tool for cutting in nice straight lines. It’s also pretty hard to eyeball an even cut. I ended up folding the already cut strip up and then trying to cut exactly along that in order to keep it straight. This was probably the best option we had, but seriously, get an exacto knife or a scalpel or something. Avoid the kitchen shears.

A close up of my weird cutting style.

Cutting the fabric swatches was much easier. Mostly because they were made of thinner material than the towel and also because I just cut along the fold lines. I’m a genius.

CHALLENGE 2: No Sewing Machine.
I mean, it’s a sewing project. What on earth were we thinking tackling a sewing project without a sewing machine??????
Luckily, LG can sew. (I cannot. I also can’t bake a pie. I will never be June Cleaver. Sad.) She tackled a lot of the smaller sewing project. Below, she’s sewing the strips of fabric together that will form the borders of the towel.

I made myself useful while she sewed by measuring out the length that the strips needed to be.

LG did an excellent (and apparently very fashion-forward) job of sewing the strips together but I think her poor fingers would agree that it would have been easier with a sewing machine.

Or just quit right there and wear this as a scarf…
So what is one to do when one tackles a sewing project without a sewing machine? Fabric glue. Gallons of it. I think in order to complete both of our towels, we went through 4 bottles. We used this stuff and so far, it’s holding everything together very well. But our completed towels don’t quite have the polished look that the original does.

The other issue with the glue: you have to squish everything down and then it takes a LONG time to dry. Hence the two month completion time. Every time we had to stop and wait for it to dry, it was like 3 weeks before we could schedule another work session. We are VERY busy ladies, after all.

More gluing. Or perhaps just more chances for LG to take creepy stalker pics of me. She’s weird.

LG takes too many cleavage shots.
The completed bottom half of the towel.

For all of my whining, it doesn’t look bad at all.
The next steps involved creating the pillow case out of the second towel. Let’s be honest, the pillow insert is really what made us decide to do all of this work in the first place. We are super lazy and like to be comfortable. The idea of a pillow encased in a beach towel warmed our little hearts.

CHALLENGE 3: I mentioned the lack of sewing machine, right?
Yes, lot’s more gluing. I think I actually glued my fingers together at one point.

CHALLENGE 4: We aren’t all that bright.
The final stage of the project, once all the big pieces are glued together, is adding the frills. The handle, the pocket, the buttons. The thing is, at this point we were kind of tired of looking at the original post and measuring and all that other nonsense. We basically turned into men who try to assemble heavy machinery without reading the directions. The results were comical.
LG put her tired fingers back to work and sewed on the pockets. A tip for you? Make sure you do a test roll-up of your beach companion (BC), so that you will know which direction the pocket should face. Just trust me on this one. Or if you don’t trust me, well, see the last picture in this post.

The other downside of the not-so-straight cutting job? The strips have to be reused as the handles and they are not all that pretty after that. LG had the idea of braiding the two handles into one giant one. It definitely looks better than our sad frayed double handles did, but it does make the BC look a little strange when carrying it.

LG sews buttons. I take pictures. Seriously, I’m kind of a failure as a lady. How will I ever make a proper wife if I cannot sew a button? I blame my mother. (Just kidding. Hi Mom. Love you, don’t kill me.)

If you whistle while you work…
We may or may not have sewed the buttons and the hooks on the wrong side the first time around. And then had to remove them and redo them. Really, I’m surprised that we make it through most days without just falling over while trying to walk and breathe at the same time.

That nail color is “lapiz of luxury” by Essie.
And finally, we have a completed BC! Isn’t it pretty? Doesn’t it look comfy and wonderful?

LG has been using her BC for a month and I have been using mine (the one in all these pictures) for about a week and they are really are cute and convenient and SO comfy. But making it was HELLA INVOLVED.

Oh heeeeeeeey puppy!
We here at FF&F strongly encourage you to take on your own crafty projects, because we’ve certainly had oodles of fun with the ones we have tackled. But seriously, don’t be like us. Follow the directions and make sure you have all the necessary tools. Otherwise, THIS happens….

Just remember to sew on your pocket properly.
Thank goodness we’re pretty.
I love being a Californian in DC. But I hate being a Californian who has to travel back and forth between DC and home. It’s a long, annoying flight and I frequently find myself stuck on a red eye with a screaming baby. This makes for a sleep-deprived and cranky Whit.
Luckily, I have LG to take care of me. When I returned to DC after a trip home last weekend, it had been an entire week (gasp!) since I had seen her. I was in dire need of three things: LG-time, food and sleep. And carb-free LG (I love rhyming) was looking to take her new-found love of cauliflower for a ride and make a cauliflower crust pizza.

Cauliflower boobies – as uneven as real boobies.
The recipe for the cauliflower crust, which LG found here, was pretty easy. You will need 2 cups of grated cauliflower, 2 tbsp of parmesan cheese, 1 cup of mozzerella cheese and 1 egg. We doubled all of the ingredients for our batch. We like leftovers.

The greatest grater.
After you break the cauliflower down into chunks, you will need to grate the florets into smaller crumbles. I was strictly an observer but LG noted that it was extremely easy to grate up. When you’re through, it will resemble chunks of feta cheese. Mmmmm, cheese.

Cheese? Not Cheese? Ahhhh, so confused!!!
LG measured out 4 cups of cauliflower, put it in some cheesecloth to help it dry out and then microwaved it for 8 minutes to soften it up. Then she added in 4 tbsp of parmesan cheese and 2 cups of mozzarella (if you’re doing one batch use 2 tbsp of parmesan and 1 cup of mozzarella). We may have eyeballed the cheese measurement. A little extra won’t hurt anything.

Egg boobies are smaller than cauliflower boobies.
Then LG stirred in 2 eggs. Finally, for her own twist on the recipe, she added in a few shakes of Italian seasoning. I was an extremely helpful taste-tester and then added a couple more shakes. Then she spread the whole mixture evenly over a pizza pan, sprayed it lightly with some cooking spray and stuck in in the oven.

Seriously, it looks just like real dough. That’s my story and I’m sticking to it.
While the crust cooked, LG whipped up some homemade tomato sauce. I’m not going to lie, I wasn’t totally paying attention here, but I think it involved 3 cans of crushed tomatoes thrown into a Vitamixer, then a can of tomato paste added in, and then it was all stirred together and heated up on the stove.

LG loves her (kitchen) toys.
Once the crust was done baking, we pulled it out of the oven to add on all of our toppings. It was a really nice golden brown and smelled AWESOME. We probably could have eaten it right then and there.

Get in my belly.
All that was left to do was add the toppings! We dolloped on the tomato sauce, sprinkled on a bunch of cheese, threw on some fresh basil from LG’s new plant, tossed on the turkey pepperoni that we hadn’t already eaten and finally added on some chopped mushrooms.

Clearly an artiste.
Once the pizza came out of the oven, we dove right in. This might have been our only mistake. The cauliflower crust needs a little time to cool and harden or it crumbles up a bit too easily. However, a slightly crumbled crust did not stop it from tasting AMAZING. And it was shockingly filling. I’m usually in for at least 3 pieces of pizza but I was good and full after only 2!

Might have forgotten to take a final picture in our hurry to eat it. Leftover picture will have to suffice.
It really was an amazingly easy recipe to make and it was exceptionally delicious. I’m not as carb-averse as LG but if all of her recipes taste as good as this one does, she may drag me over to the dark side. And after I got my LG-time and my food, I promptly fell asleep on the couch. Best way ever to recover from a trip home.
LG here! Now that we’ve all fallen in love with cauliflower, let’s have Round II. Cauliflower mash is such a delicious alternative to mashed potatoes. I never thought I could replace mashed potatoes, but boy was I wrong. This recipe is SO easy: a cauliflower, have a packet of cream cheese, butter, and a fork. The fork is for eating the cauliflower mash. I highly recommend using it.
First, wash your cauliflower! Always wash your veggies, and your hands.

Yes, I took a picture of washing cauliflower.
Now, boil some water. Once the water is boiling, throw in the cauliflower. Don’t be like me, though–put it in gently. I may have burned myself. After about 10 minutes take out a piece and see if it crumbles easily. If it does, throw everything back in that strainer.

That weird looking stuff is veggie “meat.” Yes, we go far and beyond just carb free. We’re straight up freaks!
Put the cauliflower back in the pot and get to mashing!

Love Big Sug, but this is def a blurry picture. Apropos?
Now, add in the cream cheese. I’d recommend adding it in slowly. It will make everything more consistent. I, however, do not have that kind of patience.

ALL THE CREAM CHEESE!!!
You are so close. Mash and mash and mash some more! Once it has a steady consistency, throw the butter in there. Mash some more while it melts.

I think this picture beautifully illustrates our height difference.
Add in whatever you like in your mashed potatoes! Garlic? Absolutely! Salt! Pepper! Graaaaaaaavy!!!

We added veggie gravy to this batch. Delicious!
Then get that fork out! It’s so delicious AND it’s a veggie.
Cauliflower is my new miracle veggie. I am not big on sitting down and just eating a vegetable (I prefer candy), so this recipe was perfect for me. I felt as if I was eating a starch, but really I was getting a HUGE serving of veggies. Trick your kids! Trick your friends! Trick yourself! Cauliflower is so versatile, so take it off that antipasto plate and cook it up real good.
WE ARE CALIFORNIANS!!!
That shout alone should let you know three things about us: 1. Snow is a place, not a weather pattern. 2. Yes, we WOULD rather be at the beach. 3. We L-O-V-E In ‘n’ Out.
Now, In ‘n’ Out is pretty strict about where they’ll build their restaurants. In the foreseeable future, there is just no way we’re getting one within 1000 miles (and we probably wouldn’t drive more than 500 for a burger–but we would def drive 500 miles for an In ‘n’ Out burger if that were an option). Luckily, some crazed chef did a serious breakdown of an animal style double-double. Here is the link. That man is a saint.
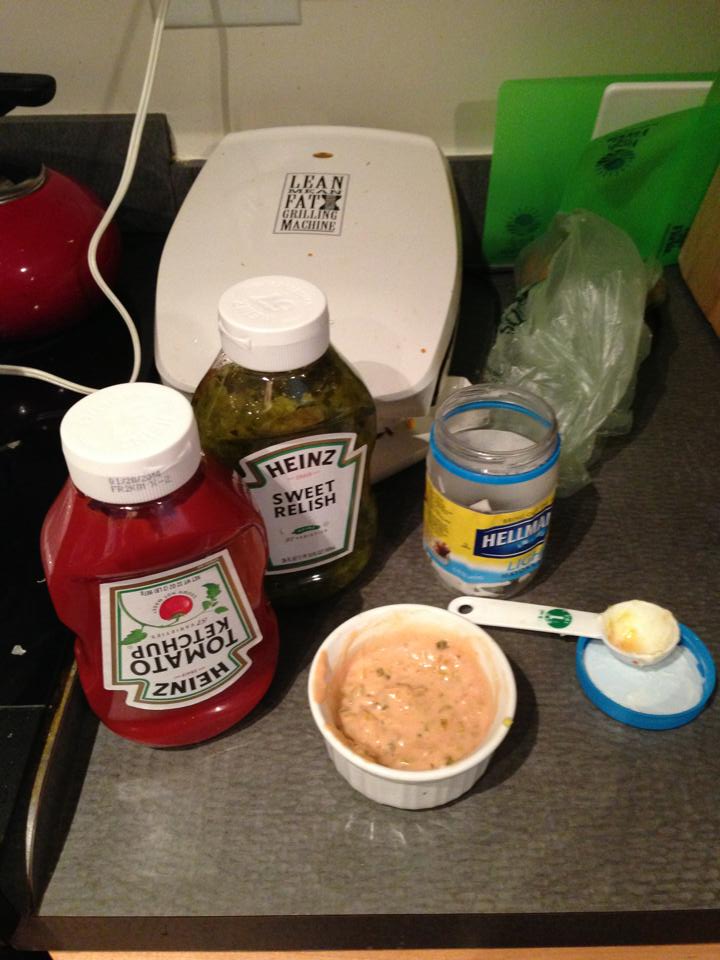
With recipe in hand, we tracked down all the necessary ingredients.

You may notice a lack of buns. Totally on purpose and not ’cause we left them in the car.
What you’re looking at is:
-half pound burger patties (the recipe calls for 2 quarter lb burger patties, but we’re rebels)
-six onions
-a tomato
-a head of lettuce
-mustard
-mayo (for sauce–2 tablespoons)
-sweet relish (for sauce–2 tablespoons)
-ketchup (for sauce–1 tablespoon)
In ‘n’ Out Animal style burgers have a few components that make them different than a regular In ‘n’ Out cheeseburger. The one that really stands out when you take a bite, though, are the caramelized onions. Oh my. Those onions…they are perfection.
Now, the recipe says that the onions take a while to cook. A while? A while is the length of a sitcom. This was forever. It really should say, “the onions will take forever.” But when we want something, we put in the hours. Hours. 3 hours. Not joking. Start the onions EARLY. We thought this would be a lunch meal, but it ended up being dinner, because of these onions. However, let us say two words: WORTH IT!
So! Now that you’ve got your six onions in hand, chop ’em up. We stuck ’em in the food processor after chopping. And LG left quite a few on the floor, too.

“Chopping is hard.”-LG
After chopping/food processing the onions stick ’em in a pan with some oil over medium heat (let’s be honest, we started them on high heat and then realized that impatience didn’t make them cook more quickly–it just burned the bottom ones). After about an hour, pour 3/4 cups of water over the onions to “deglaze” the pan. We’re not chefs–that’s just a word the chef used. But it works, so whatever.

Wow. that is a TON of onion.
When the onions FINALLY start turning brown, turn the heat down a bit. Get up from your game of Wii Monopoly about once every hour to deglaze the pan again. You’ll end up doing it 3 times.
No joke. Here is what you’re left with at the end. It’s delicious. It’s fragrant. And it’s about 1/6 of what you started with. This is the bowl we used to move the onions (one at a time) to the pan. They REALLY cook down.

Delicious onion jam.
So, now you have your onion jam. Next step: make your special sauce.

So, this is where we thought the recipe guy got a little nuts. You broke down the exact amount of ketchup, mayo, and sweet relish of the sauce? I bet they don’t even try that hard at the restaurant. However, we thank him, because it’s delicious. The special sauce is easy: take the 2 tablespoons sweet relish, 2 tablespoons mayo, and 1 tablespoon ketchup and mix them. Easy peasy.
“Special sauce is gross.” Whit the weirdo
(possibly captioned by LG)
Now it’s time for burgers!!!
Whit did our burgers (LG is scared of raw meat…unless it’s fish. Weirdo). She added some salt, pepper, and garlic powder to the meat for taste. Then the magic happens: mustard. What? Mustard. Whaaa? Mustard. For real. We’ve more or less decided anything cooked on a pan should be cooked with mustard. What? Mustard. Whaaa? Mustard.
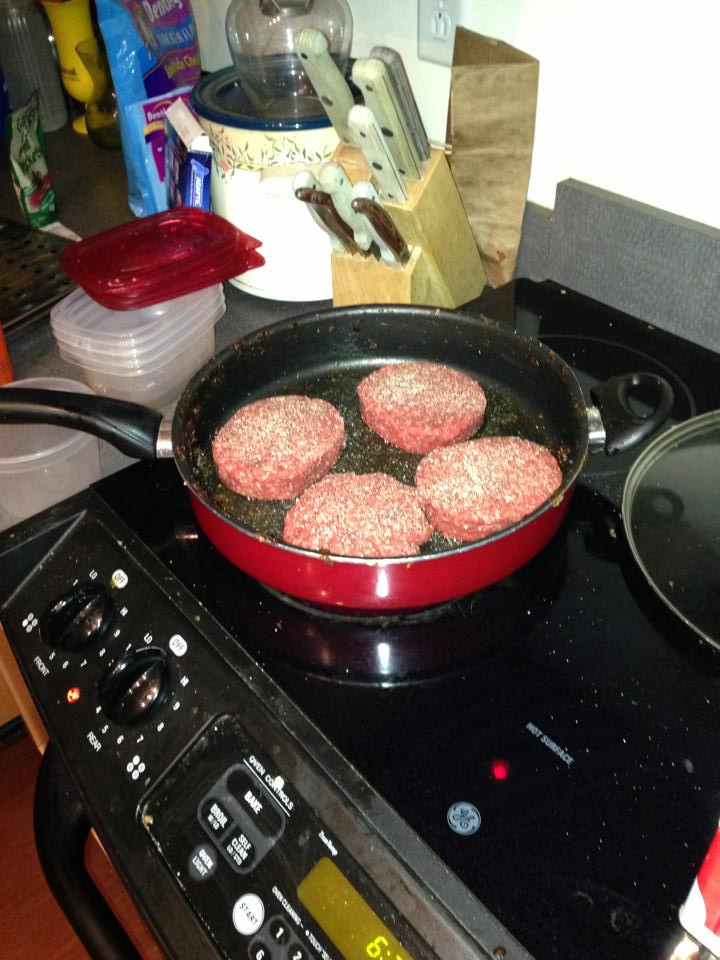
Just some raw meat hanging out in a pan.
SO! After seasoning, we threw the burgers in a skillet. Then mustard was added to the top. THEN we flipped the burger. The smell of that mustard cooking is so good. SOOO GOOD! Then throw some cheese on top and let it melt. Once your burger is cooked through (please make sure your burger is cooked through) it is ready to go!
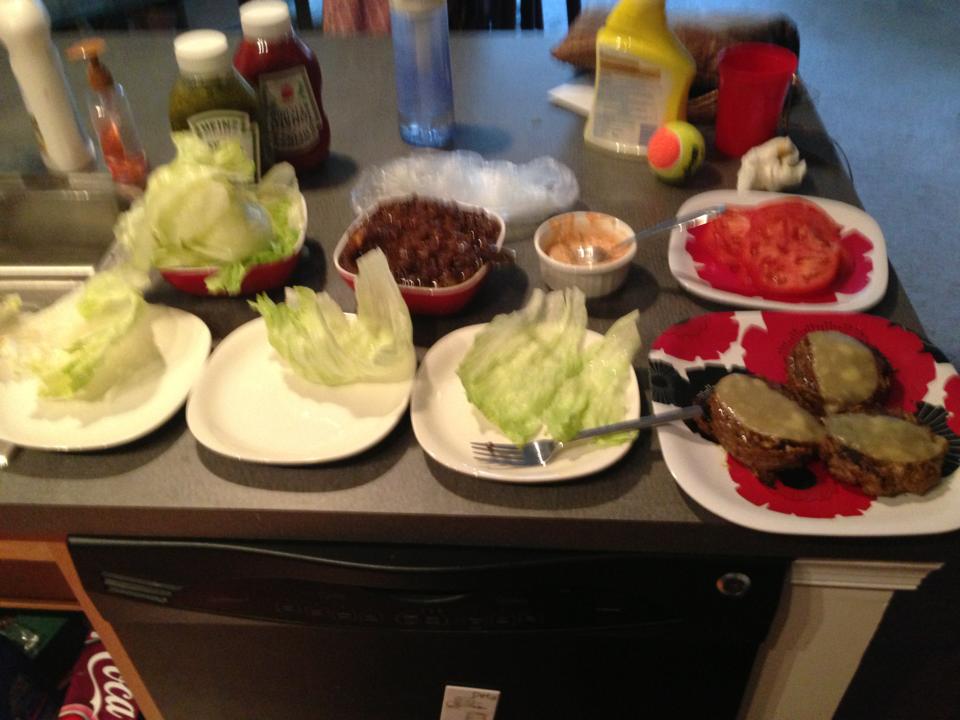
Assembly line dinner: what it looks like to live with roomies.
We won’t run down burger assembly–we’re assuming you can assemble a burger. We wrapped them in lettuce ’cause LG-the-weirdo doesn’t eat carbs.
No. Thank god.
The burgers were AMAZING! We made ours with thicker patties instead of two patties, and it worked just fine.
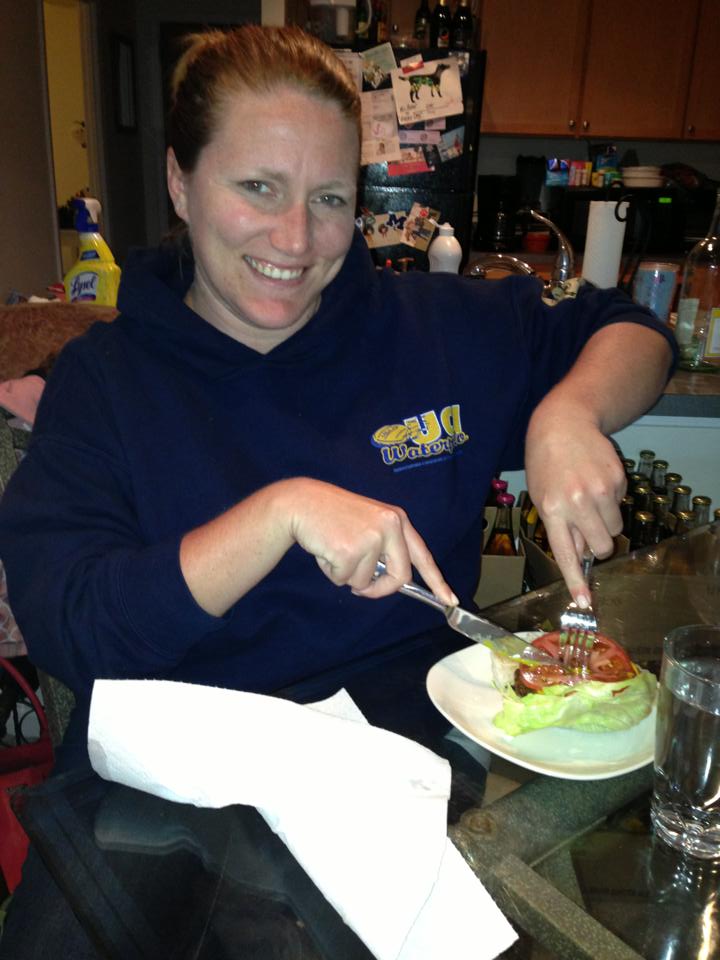
Whit

LG–eager much?
Really, what makes it great are: the onions, cooking the burger with mustard, and the special sauce. We figured it out! And yet, we will definitely still pay for In ‘n’ Out every time we’re back home.
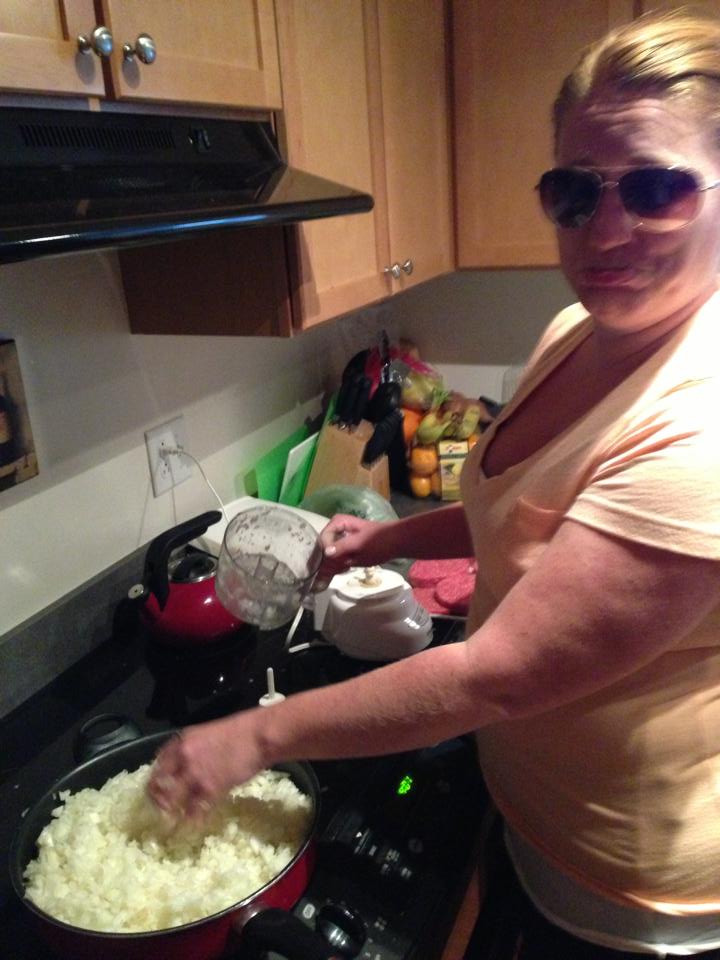
Whit and her protective eye wear. Onions are dangerous, people!
We’re giving this a HELLA INVOLVED rating, because the onions took forever.
