We know, we know. Its the end of summer. But hey, look at your feet! Are you wearing flip flops? Of course you are. It’s only September. Why on earth would you be wearing anything else? We love flip flops so much we named our blog after them (clearly, we also love freedom). We’ve all seen the Pinterest boards with DIY flip flops, and we said to ourselves, “Hey! They’re not better than us!” So we took a trip to the craft store (obvi) and Old Navy ($2 flip flops!!!) to see if that was just crafting hubris.

Craft stores love me.
Something I would recommend is planning out your flippy floppies beforehand. It IS a lot of fun to run in and grab everything you see that would be pretty to hot glue onto a flip flop, but when you walk out of the store $75 later you may have some buyers’ remorse. KIDDING! Who would get buyers’ remorse at a craft store? That’s like saying you can get buyers’ remorse from Michael Kors. IT. JUST. DOESN’T. HAPPEN. However, if you are one of the few that is plagued by this increasingly prevalent infliction (thanks US economy!), I would recommend going in with a plan.
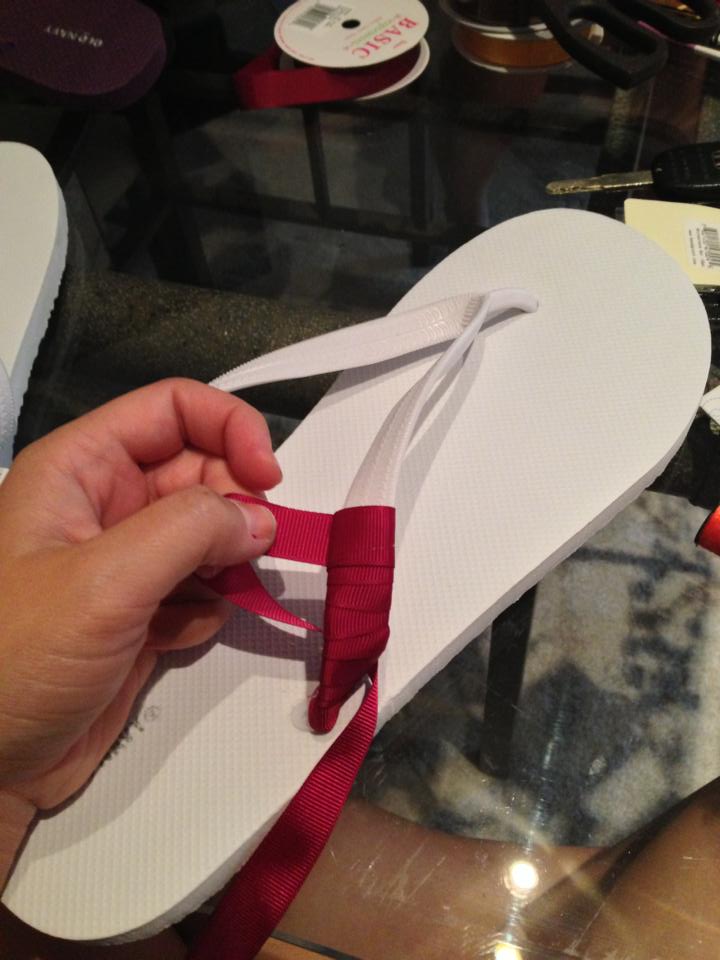
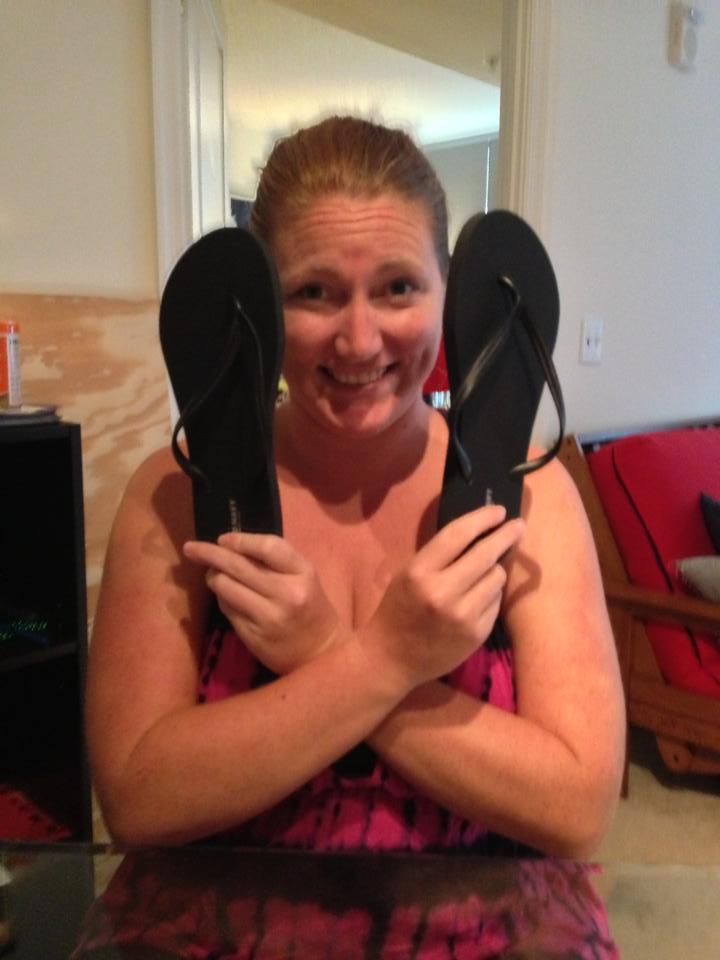
Let’s start off with a simple pair of flip flops. I made these for Big Sug. He is a big football fan. Can you guess his team? The ribbon wrapped flip flops are by far the easiest.
First, hot glue or stitch the ribbon to itself at the base of the thong. It has a better chance at survival if you wrap it and glue it to itself than wrapping and gluing to the plastic. Especially since it’s plastic. And the glue is hot. Hot plastic is NOT what’s up.
My feet are big…but these are definitely for Big Sug.
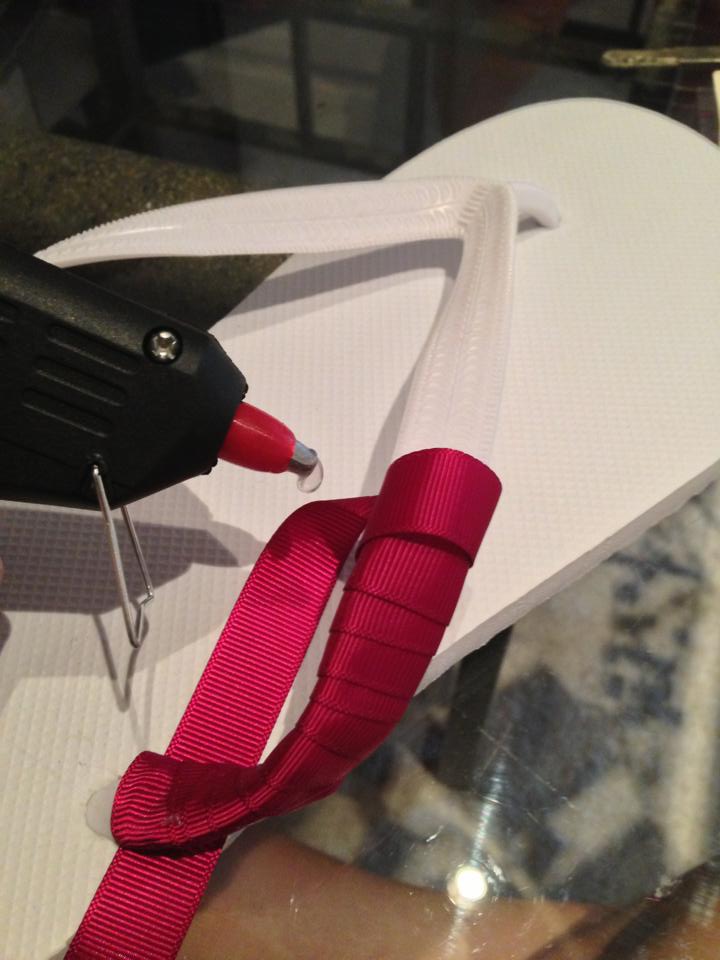
Hot glue as you go! Hot glue is the greatest invention in the history of ever. I hot glued his flip flops about every other time I wrapped them. Just put a little dab of glue on the fabric and wrap the fabric around the glue.
Is your hot glue gun your bff, too? Don’t tell Whit!
When you get to the tip of the thong, trim the ribbon and hot glue the end piece on the underside. This way you don’t have a big frayed piece sticking out. I recommend wrapping each side separately.
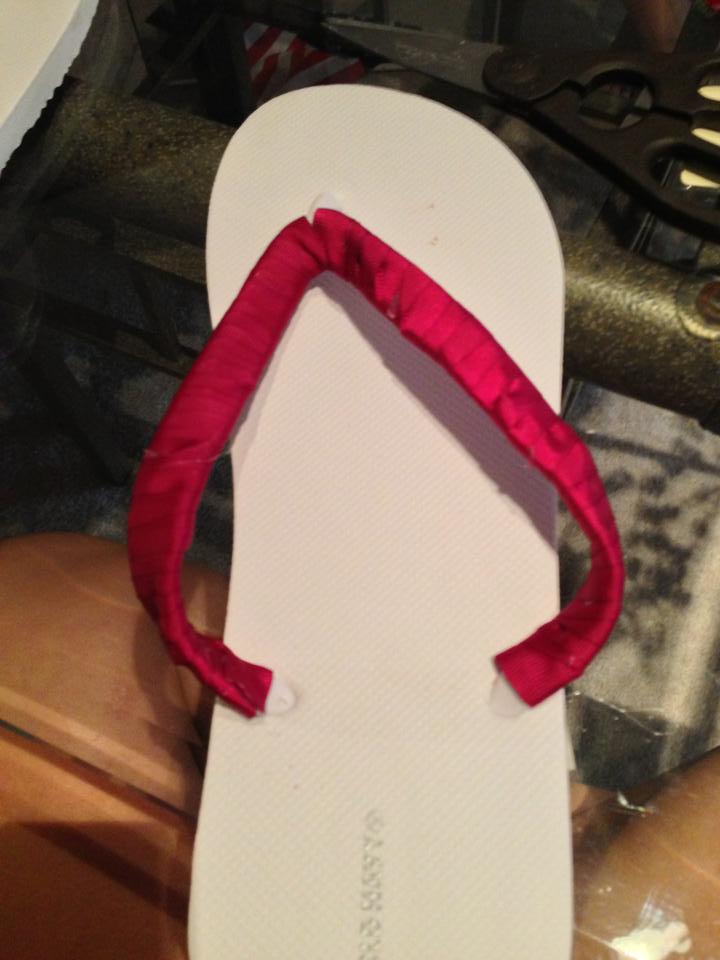
Voila!
Then wrap the other!
Dos!
I wrapped the top of the thong with the opposite color. This is GREAT for sports teams. Most boys aren’t going to wear ribbon flip flops, but if they did this is how they’d do it.

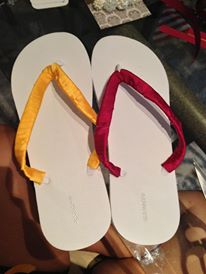
Those are some MAN feet!
Now let’s do some lady shoes!
Start with a pair of flip flops. Obvi.
I feel an elephant ear costume is in the works.
Wrap the flip flops in ribbon, much like the first pair.
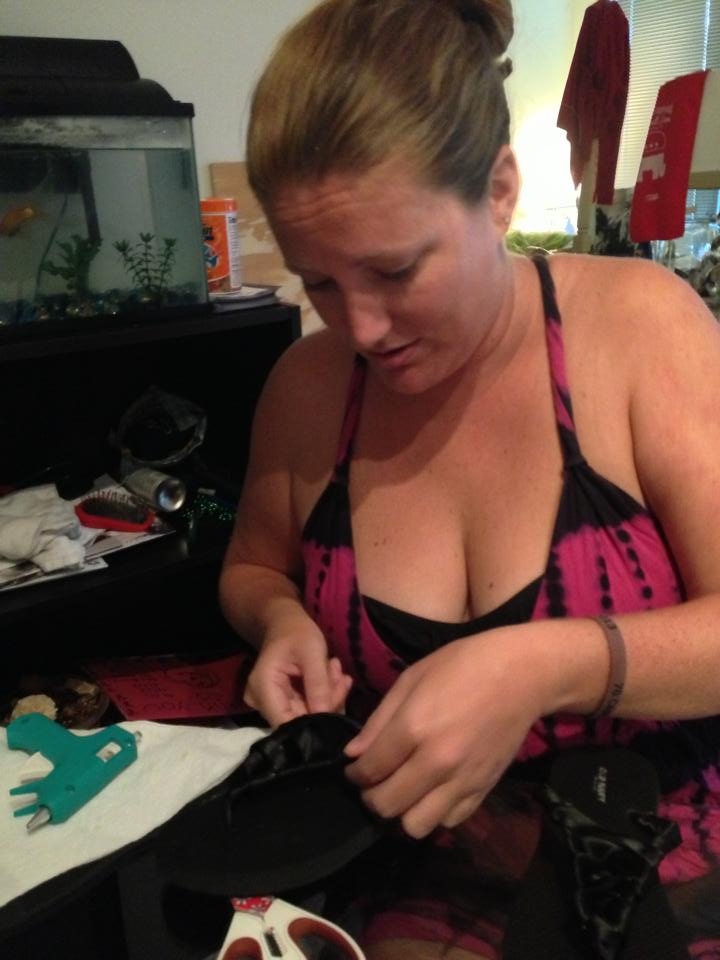
Such concentration!
And watch this video as Whitney crosses the ribbon between the two straps to make a bed of ribbon for some bling.
We had a video of me demonstrating how to bling out your flips flips after the ribbon bed is created. Unfortunately, that video is on Whit’s phone and she can no longer find it. Suffice it to say that there was a LOT of hot-gluing of beads onto the ribbon.
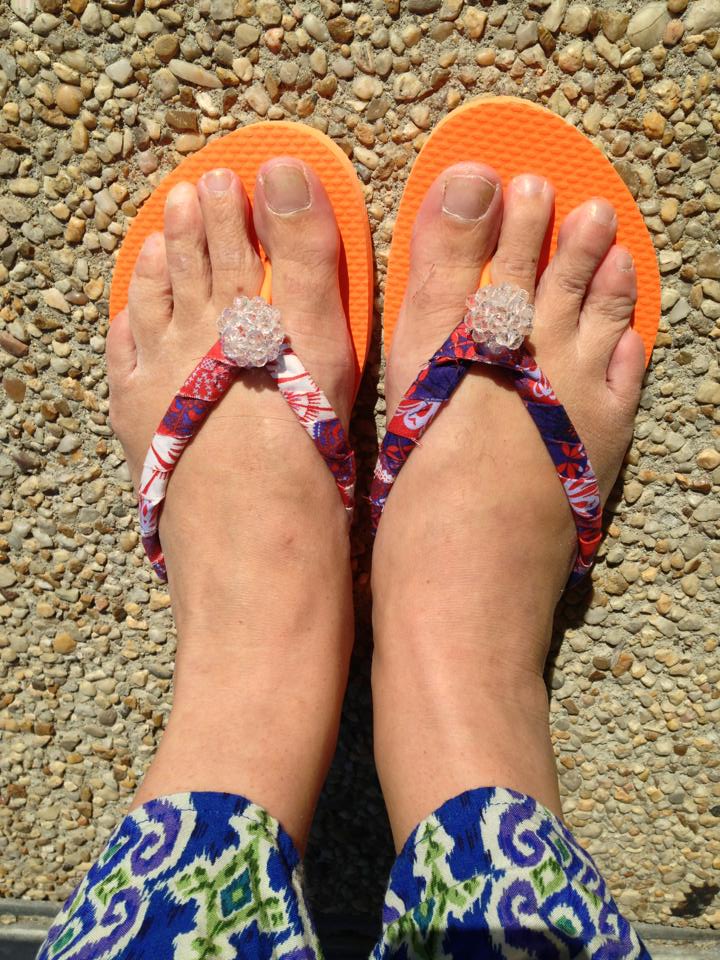
And the finished product! These are fairly simple, too. However, I would recommend stitching each bead on if you can/have the time. This pair is falling apart (all the little pearls and jewels are falling off) and it’s only been about 2 weeks. All the other pairs are holding on just fine.
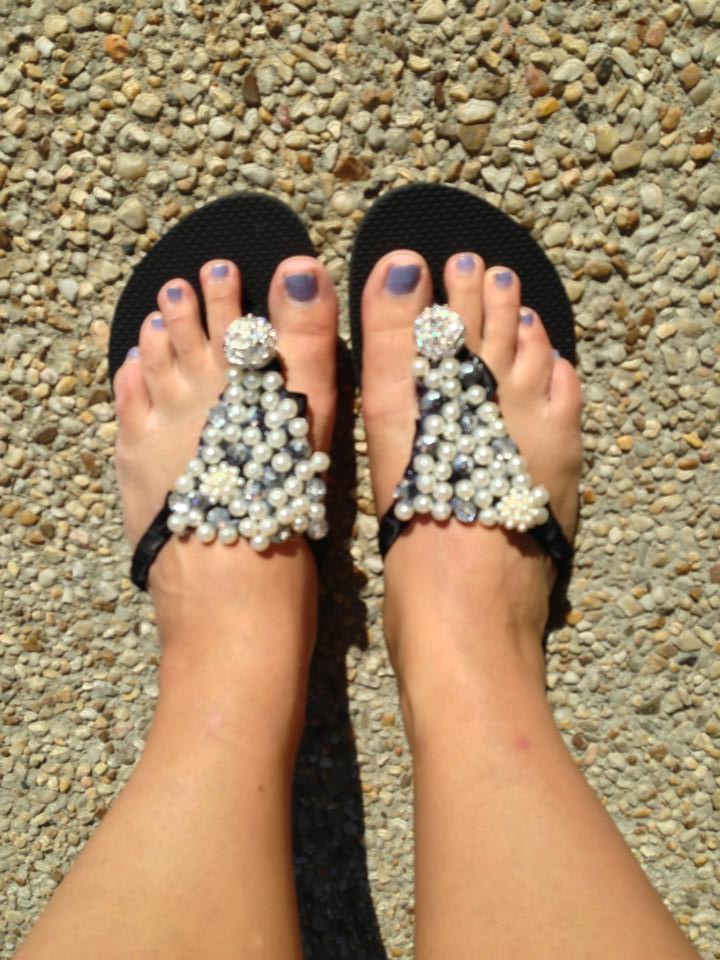
These flips are no flop. Hardy har har.
Now for our last pair!
For this pair, we took fabric and folded it over itself to make an inch long strip.
Also, get a friend like Whit who gets hella OCD about straight lines.
Then we “hemmed” the fabric with hot glue. We only glued about 4 inches at a time to ensure that the fabric would stick best. Then we cut the strip away from the rest of the fabric.

With more flip flops in the background.
After, we wrapped the flip flops with the strip of fabric. When gluing for this, make a loop around the base of the flip flop with the fabric and glue the fabric together. As you wrap the flip flop, continuously overlap the fabric and glue the overlapping pieces.
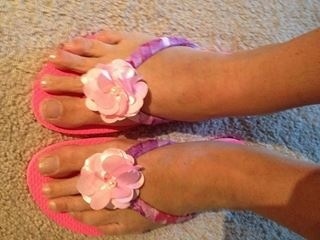
For the next part, we sewed on a little bling. Here is the finished project!
Gorgeous!
Did you like these flip flops? Do you want your own pair? Send us a pic of your flip-flops with your feet like the picture below to flipflopsandfreedom@gmail.com and we’ll enter you into our contest to win this lovely pair.
We’ll also be using pictures of flip-flops in our new re-design, so look for your little feetsies soon!
It seems to be a universal myth that if you live in California, you must live on/very close to the beach. This is so not true (though we really wish it was). LG and I hail from a place called the Central Valley, which is entirely landlocked, unless you count oceans of fruit trees. This is very sad for us, since we loooooooooooove the beach. There’s really nothing better than laying in the sand, soaking up some rays and then popping into the water to cool down. And unfortunately for us, DC is also not very beach-adjacent. However, that does not stop us from getting in some good sun time, whether it’s by laying out on my rooftop pool or hauling our butts to Dewey Beach.
Of course, the most vexing thing about going to the beach is hauling all of your stuff there. And we require lots of stuff – a towel, a phone, keys, beverages, music, a good book and approximately a gallon of sunscreen with at least an SPF of 70. Ok, that last one is just me. I’m a ginger, it can’t be helped. Quite frankly, it’s a pain carrying all that stuff. So we were THRILLED when we found this project on Pinterest. We decided we must try it immediately. We set off for Michaels and JoAnns, our spirits high. Oh, if only we had actually known what we were diving into.
If you are interested in making your own beach companion, I highly recommend that you follow the instructions in the original link. Our own work was something of a comedy of errors that took us two months to complete. This post is much more a commentary on our ridiculousness than it is an actual attempt to show you how to make your own. We’re a strong warning, not a good example.
CHALLENGE 1: Cutting in a straight line
The project calls for you to cut off the edges of your towel in strips and save those strips as the handles. It turns out that kitchen shears are NOT the ideal tool for cutting in nice straight lines. It’s also pretty hard to eyeball an even cut. I ended up folding the already cut strip up and then trying to cut exactly along that in order to keep it straight. This was probably the best option we had, but seriously, get an exacto knife or a scalpel or something. Avoid the kitchen shears.

A close up of my weird cutting style.

Cutting the fabric swatches was much easier. Mostly because they were made of thinner material than the towel and also because I just cut along the fold lines. I’m a genius.

CHALLENGE 2: No Sewing Machine.
I mean, it’s a sewing project. What on earth were we thinking tackling a sewing project without a sewing machine??????
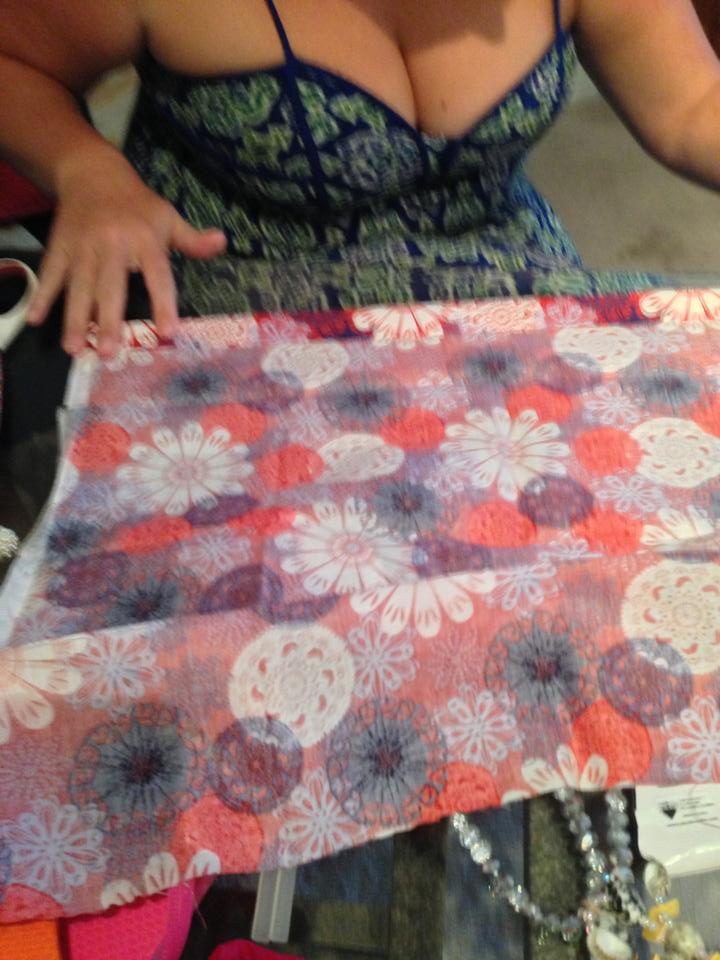
Luckily, LG can sew. (I cannot. I also can’t bake a pie. I will never be June Cleaver. Sad.) She tackled a lot of the smaller sewing project. Below, she’s sewing the strips of fabric together that will form the borders of the towel.

I made myself useful while she sewed by measuring out the length that the strips needed to be.

LG did an excellent (and apparently very fashion-forward) job of sewing the strips together but I think her poor fingers would agree that it would have been easier with a sewing machine.

Or just quit right there and wear this as a scarf…
So what is one to do when one tackles a sewing project without a sewing machine? Fabric glue. Gallons of it. I think in order to complete both of our towels, we went through 4 bottles. We used this stuff and so far, it’s holding everything together very well. But our completed towels don’t quite have the polished look that the original does.

The other issue with the glue: you have to squish everything down and then it takes a LONG time to dry. Hence the two month completion time. Every time we had to stop and wait for it to dry, it was like 3 weeks before we could schedule another work session. We are VERY busy ladies, after all.

More gluing. Or perhaps just more chances for LG to take creepy stalker pics of me. She’s weird.

LG takes too many cleavage shots.
The completed bottom half of the towel.

For all of my whining, it doesn’t look bad at all.
The next steps involved creating the pillow case out of the second towel. Let’s be honest, the pillow insert is really what made us decide to do all of this work in the first place. We are super lazy and like to be comfortable. The idea of a pillow encased in a beach towel warmed our little hearts.

CHALLENGE 3: I mentioned the lack of sewing machine, right?
Yes, lot’s more gluing. I think I actually glued my fingers together at one point.

CHALLENGE 4: We aren’t all that bright.
The final stage of the project, once all the big pieces are glued together, is adding the frills. The handle, the pocket, the buttons. The thing is, at this point we were kind of tired of looking at the original post and measuring and all that other nonsense. We basically turned into men who try to assemble heavy machinery without reading the directions. The results were comical.
LG put her tired fingers back to work and sewed on the pockets. A tip for you? Make sure you do a test roll-up of your beach companion (BC), so that you will know which direction the pocket should face. Just trust me on this one. Or if you don’t trust me, well, see the last picture in this post.

The other downside of the not-so-straight cutting job? The strips have to be reused as the handles and they are not all that pretty after that. LG had the idea of braiding the two handles into one giant one. It definitely looks better than our sad frayed double handles did, but it does make the BC look a little strange when carrying it.

LG sews buttons. I take pictures. Seriously, I’m kind of a failure as a lady. How will I ever make a proper wife if I cannot sew a button? I blame my mother. (Just kidding. Hi Mom. Love you, don’t kill me.)

If you whistle while you work…
We may or may not have sewed the buttons and the hooks on the wrong side the first time around. And then had to remove them and redo them. Really, I’m surprised that we make it through most days without just falling over while trying to walk and breathe at the same time.

That nail color is “lapiz of luxury” by Essie.
And finally, we have a completed BC! Isn’t it pretty? Doesn’t it look comfy and wonderful?

LG has been using her BC for a month and I have been using mine (the one in all these pictures) for about a week and they are really are cute and convenient and SO comfy. But making it was HELLA INVOLVED.

Oh heeeeeeeey puppy!
We here at FF&F strongly encourage you to take on your own crafty projects, because we’ve certainly had oodles of fun with the ones we have tackled. But seriously, don’t be like us. Follow the directions and make sure you have all the necessary tools. Otherwise, THIS happens….

Just remember to sew on your pocket properly.
Thank goodness we’re pretty.
